Monday, March 3, 2014

Salmon Chowder

While I profess to be almost vegetarian, I still find myself making some throw-back recipes like this one.  Mike loves it, and it gives him a break from some of the more "hard-core" vegetarian/vegan recipes that I like.  I have changed it up a little, but the fact of having salmon in it makes it ok with him.

Before the Internet one could send can labels (this was even before bar codes) to a manufacturer and get little recipe fliers that promoted a product.  This is from the Alaska Seafood Marketing Institute, Juneau, Alaska.  I did not record a date.  I've been making this for well over 20 years.

Ingredients
1 can (15 1/2 ounces) salmon
3/4 cup chopped onion
1/2 cup chopped celery
1 glove minced garlic
3 tablespoons butter or bacon fat I use olive oil now.
2 cups diced potatoes I like to use red-skin potatoes and leave the skin on.
2 cups chicken broth I use veggie broth or broth I save when I steam broccoli.
1 teaspoon salt Canned salmon is salty enough--no salt needed.
1/4 teaspoon pepper
1/2 teaspoon dill weed
1 can (13 ounces) evaporated milk I use lite coconut milk.
1 can (8 3/4 ounces) cream-style corn

Directions
Drain and flake salmon, reserving liquid.  Saute onion, celery, and garlic in butter or bacon fat.  Add potatoes, chicken broth, and seasonings.  Cover and simmer for 20 minutes or until potatoes are tender. Add salmon and reserved liquid, evaporated milk and corn. I just add the salmon and liquid all at once and break it up in the pan as I stir it. Continue cooking until heated through.

Makes 4 to 6 servings.

I usually double this because everyone loves it and it goes quickly.  The flavor is even better on the second day.

Sorry, no nutritional information.

Salmon Chowder


Another Snow Day

Roasted Cauliflower

I read this somewhere in my travels--a doctor's office, or a newspaper.  Unfortunately, I can't remember the source.  But last weekend, when Giant had cauliflower on sale, I thought I'd give it a try.  I really like cauliflower, but Mike isn't too crazy about it.  He still isn't.  But this is my favorite cauliflower recipe now.  I'll definitely do it again.

Directions:
Preheat oven to 325 degrees.
Remove all green parts from cauliflower and thoroughly wash.  Shake dry.  I used parchment paper sprayed with a little olive oil (I made my own little sprayer with a nozzle device from the dollar store) on a baking sheet.
Rub the cauliflower heads with a little oil and salt and pepper to taste. Bake for about 1 hour and 20 minutes, depending on your oven.  Cauliflower should be turning a little brown, but not burnt.  Also, cauliflower should be fork tender.

Serving:
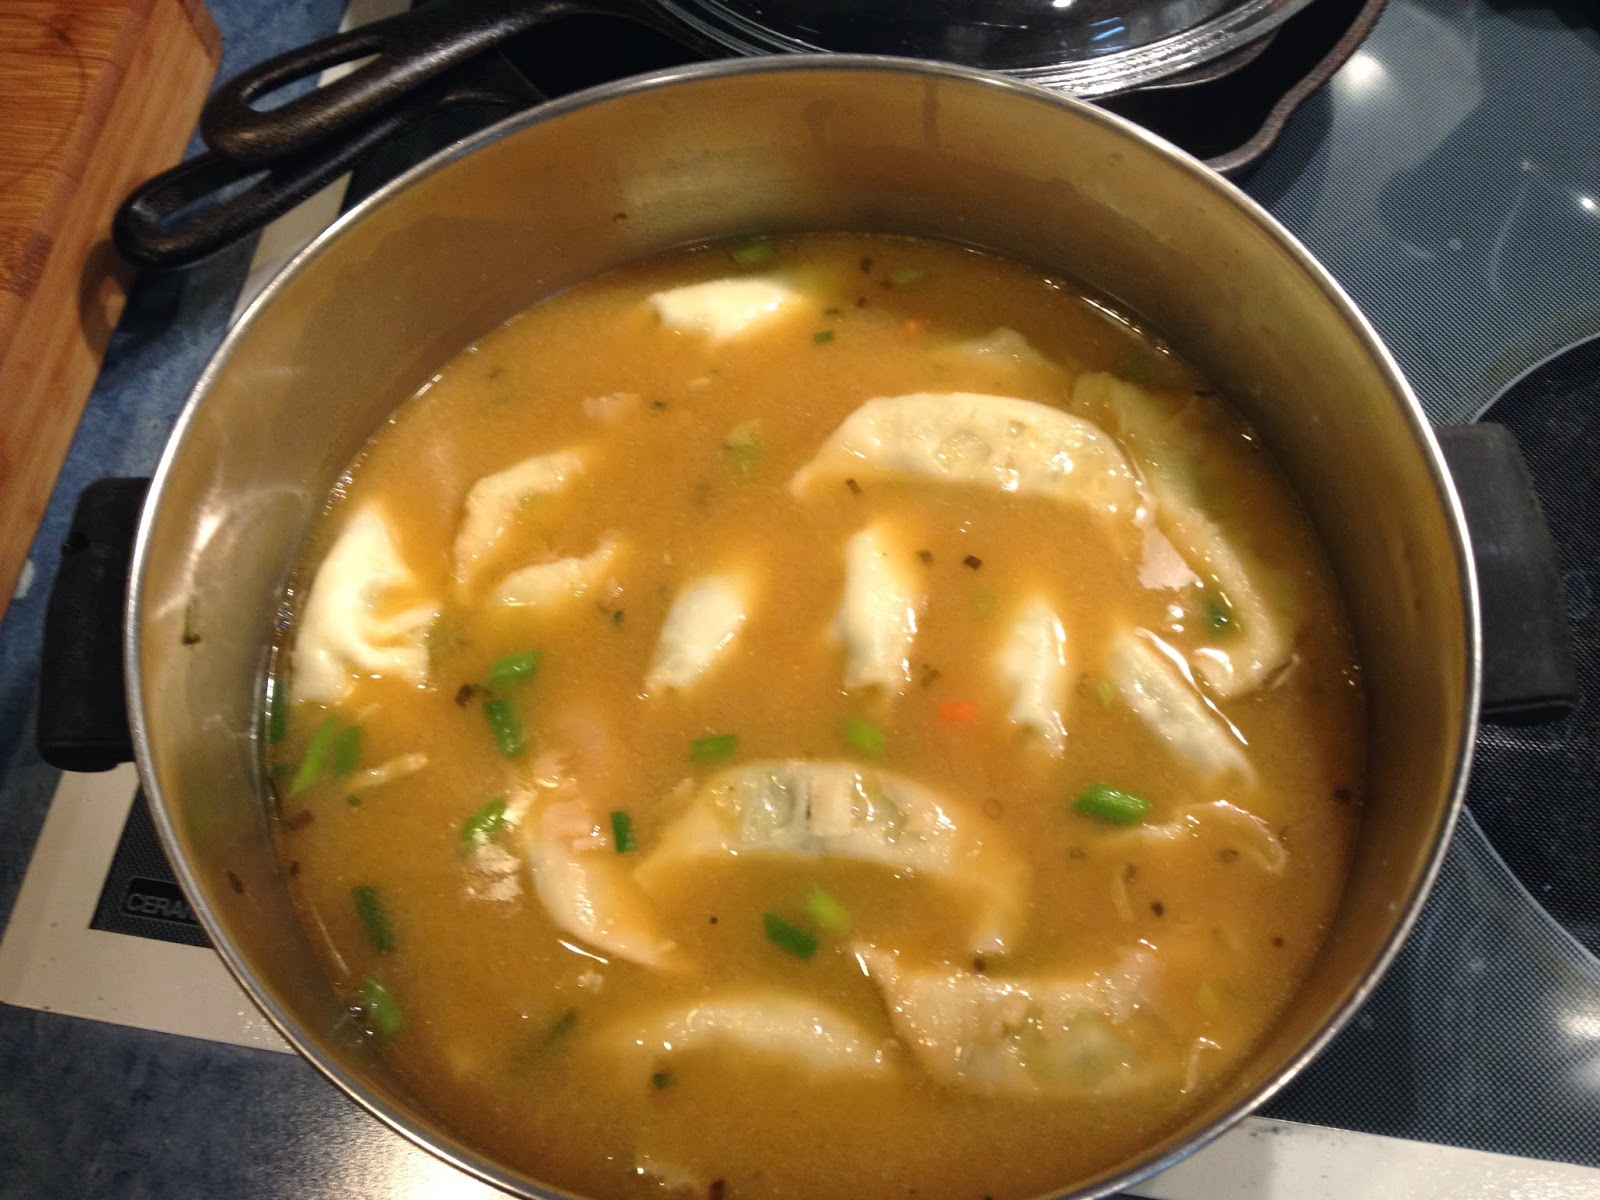
You can serve as is.  The flavor is great.  I made mashed cauliflower with one head--just like you would mashed potatoes.  With the other, I made a Red Curry Cauliflower Soup.  It's Thai and it was very tasty.


Roasted Cauliflower


You know it's a snow day if I'm in the kitchen:

Chocolate Banana Pound Cake

Oh my, oh my.  So I'm looking for a different way to use of excess bananas.  We always have bananas on hand, and I usually make smoothies, or banana bread.  I was tasting for chocolate and so was Mike. My cookbooks were all old-fashioned spiced banana cakes with cream cheese frosting and I just wasn't in the mood for that.  A quick search on the Internet for Chocolate Banana Pound Cake came up with this amazing recipe.  It's from Food.com, and the contributor, Annie Michelle, said it was passed to her by her mother with "a "tad" of embellishment."
I tweaked this a little to try for a "little" healthier version.

Here's the recipe:

Ingredients
1 cup butter (room temperature) I used Earth Balance vegan margarine.
2 large eggs
1 cup sugar
1 cup brown sugar
4 bananas (mashed)
1/3 cup buttermilk I used Kefir.
3 tablespoons vanilla extract
1 teaspoon cinnamon
2 1/2 cups flour I used white whole wheat flour.
2 teaspoons baking soda
1/4 teaspoon salt I didn't use any.
1/3 cup baking cocoa
1 cup boiling water
1-12 ounce bag semi-sweet chocolate chips (This is optional.)
1 cup chopped pecans (Also optional.)

Directions

  1. Preheat oven to 350 degrees.
  2. Grease and flour two 9x5x3 loaf pans.
  3. Cream butter, eggs, sugars, bananas, buttermilk, vanilla, and cinnamon.
  4. Mix together flour, baking soda, salt, baking cocoa, and pecans.
  5. Add dry ingredients to creamed ingredients.  Mix well.
  6. Add boiling water and stir rapidly for 2 minutes. I used my stand mixer on low speed to gently stir for 2 minutes.
  7. Pour batter into loaf pans.
  8. Bake 45 minutes.
  9. Remove from oven (gently) and sprinkle chocolate chips over tops of loaves. Wow, this was a mess.  My pans were so full that the chips kept falling off.  So I actually ended up putting them on at the end after the cake at settled a bit.  It only took a few minutes for the chips to get soft enough to spread.  They actually spread better than the chips that made it to the oven.  Those got a little charred.
  10. Return to oven for about 15 minutes, or until toothpick comes clean when inserted into center of loaf. Again, I'd just bake it through and add the chips at the end.
  11. Remove from oven when finished and place on cooling rack.
  12. Use spatula and spread melted chocolate chips in even layer over the loaves.
  13. Let cool and remove from pans. I sliced in place.  It came out nicely.
  14. You can warm or serve as is.
  15. This recipe could also make 48 small cupcakes.  Bake for 20 minutes and substitute a chocolate frosting.
Nutrition (This is following the original recipe.)
Servings per recipe-24
Calories-214.7
Calories from Fat 76

Total fat 8.4 g, saturated 5.1 g, cholesterol 35.9 mg, sugars 20 g, sodium 209.9 mg, total carbs 32.9 g, dietary fiber 1.3 g, protein 2.5 g

Chocolate Banana Pound Cake
SHOULD I SHARE?

Friday, February 14, 2014

"The Best" Brownies

These might be the best brownies ever!  So when I found myself unable to get out due to the horrible storm of 2014, Mike requested a batch for Valentine's Day.  Then he said, "and I'd like them with peanut butter.  And no fake stuff." (Sometimes I try to veganize my recipes and use flax seed egg replacer... it works fine, but Mike is old fashioned--and I decided to treat him.  Like my daughter-in-law UnKyong said, "Dad can deserve that for a special day."

So here goes... Valentine's Day Brownies with a peanut butter twist.

From:  Hershey's Coca Cookbook (This was a mail-order cookbook.  You'd send in so many labels and you'd get a little cookbook.  It is copyrighted 1979. And it has been used hard.)


Hershey's Cocoa Cookbook

"The Best"  Brownies


Original Recipe

1/2 cup vegetable oil or melted butter (I always used oil)
1 cup sugar
1 teaspoon vanilla
2 eggs
1/2 cup sifted all-purpose flour
1/3 cup Hershey's Cocoa
1/4 teaspoon baking powder
1/4 teaspoon salt
1/2 cup chopped nuts (optional)  Mike does not like nuts.

Blend oil, sugar and vanilla in a mixing bowl.  Add eggs; beat well with spoon.  Combine flour, cocoa, baking powder and salt; gradually add to egg mixture until well blended.  Stir in nuts if using.  Spread in a 9-inch square pan.  Bake at 350 degrees for 20 to 25 minutes, or until brownie begins to pull away from edges of pan.  Cool in pan.  Frost if desired; cut into squares.  16 brownies

This is a recipe that I'd make quite often when the kids were little.  And I could either make them plain or add the frosting for a special little treat.  I almost always doubled it.  The frosting is a nice consistency and is easy to add a little swirly decoration.  It was a go-to for when I needed something quick to take to a picnic or covered dish.

Creamy Brownie Frosting

3 tablespoons butter or margarine
3 tablespoons Hershey's Cocoa
2 tablespoons light corn syrup or honey
1/2 teaspoon vanilla
1 cup confectioners' sugar
1 to 2 tablespoons milk (I prefer to use soy milk.)

Cream butter, cocoa, corn syrup and vanilla in small mixer bowl.  Add confectioners' sugar and mik; beat to spreading consistency.  About 1 cup frosting.

The Peanut Butter Faction:

To achieve Mike's request for peanut butter brownies, I used half the oil  or butter called for and half peanut butter in both recipes.  That's it.  They were so good--unfortunately, we can't leave them alone!  Not good for two people watching their waists.


Peanut Butter Brownies for Valentine's Day


Wednesday, January 22, 2014

Pot Sticker Miso Soup

I was looking for something quick and hearty for a cold, snowy, winter night.  Then I remembered my PDQ cookbook. I picked one up for Justin in 2007.  He was eating vegetarian and these were super easy.  I tried out a few recipes and it was so good I got one for myself.

From:  The PDQ (Pretty Darn Quick) Vegetarian Cookbook
By:  Donna Klein

Makes 4 servings
Vegan

"Miso is a fermented soy paste that is used frequently in Japanese cooking to flavor and thicken soups and sauces.  While just 1 tablespoon of miso contains 2 grams of protein and 1 gram of dietary fiber, it also contains about 800 milligrams of sodium.  If you are watching your salt intake, use the lesser amount in the recipe.  Vegetarian pot stickers, a ravioli-like Asian pasta, are typically filled with a combination of cabbage, carrots, and radishes.  Both miso and pot stickers can be found in Asian markets as well as specialty and health food stores; I got mine at Trader Joe's."

  • 2 1/2 cups water (*I used whatever vegetable broth I have on hand)
  • 1 14-ounce can low sodium vegetable broth
  • 1 teaspoon freeze-dried chopped chives
  • 8 ounces frozen vegetarian pot stickers
  • 1/2 cup canned straw mushrooms, drained (optional) (*I love these.)
  • 1 1/2 to 2 tablespoons miso, preferably the brown variety, mixed with 2 tablespoons water
  • 1 teaspoon toasted dark sesame oil
In a medium stockpot, bring the water, broth, and chives to a boil over medium-high heat.  Add the pot stickers and mushrooms; stir and return to a boil. Reduce the heat to medium and cook until pot stickers are softened but still firm to the bite, about 3 minutes, stirring occasionally.  Remove from heat and add the miso mixture and sesame oil, stirring well to combine.  (If not serving immediately, keep warm over low heat, but do not allow the mixture to boil.) Serve hot.

Nutritional info:  Calories 135, Protein 9 grams, Total Fat 2 grams, Saturated Fat 0 grams, Cholesterol 0 grams, Carbs 21 grams, Dietary Fiber 2 grams, Sodium  629 milligrams

Variations:
  1. Miso Noodle Soup-- Substitute 2 to 3 ounces somen noodles, broken in half, for the pot stickers.
  2. Miso Soup-- Omit the pot stickers and mushrooms.  After the broth mixture comes to a boil, remove from heat and stir in the miso mixture and sesame oil.  Serve hot.
My note:  I use low-sodium miso.  It still has plenty of of sodium.  I like to serve it with some sort of thick crusty bread or biscuits--though that isn't very Asian.  It's best to use it all up at once.  Trader Joe's pot stickers come in a 16 ounce package.  That makes a lot of soup.  The pot stickers get a bit droopy on the second day, but the flavor is even richer as the miso has time to blend and mellow.

Miso Pot Sticker Soup

*My note.

Chana Saag

From:  Everyday Happy Herbivore
By:  Lindsay S. Nixon

I really love this cookbook.  Some things that I thought I'd never eat as a vegetarian are very tasty and filling.  Nixon uses no fat (except in what she calls occasional "cheater" recipes).  She is vegan.  I cheat sometimes and eat eggs and cheese and other "bad boys".  This is one of the most recent attempts from her book.  I'm posting this for my son and his wife who are really trying to eating healthy.  I served mine with the tofu yogurt and brown rice, cooked in my rice maker.

Serves 2

"Saag is a traditional North Indian spinach dish that is usually served as a side.  Here I've made saag into a meal on its own by pairing it with hearty chickpeas (chana).  For a complete meal, serve with cooked brown rice, whole-wheat roti, or naan."


  • 1 small onion diced
  • 4 gloves garlic minced
  • 1 inch piece fresh ginger minced
  • 1/4 cup tomato sauce
  • 1 teaspoon ground coriander
  • 1/2 teaspoon ground cumin
  • 1 teaspoon garam masala
  • 1/4 teaspoon turmeric
  • 1/8 teaspoon ground cardamom (optional)
  • 1 15-ounce can chickpeas drained and rinsed
  • 3/4 teaspoon mild yellow curry powder
  • 6 cups baby spinach rinsed and drained
  • salt and pepper to taste
  • Tofu Yogurt (Recipe to follow)
  1. Line a large pot with a thin layer of water and bring to a boil.
  2. Add onion, garlic, and fresh ginger.
  3. Continue to cook over high heat until onion starts to become translucent, about 3 minutes.
  4. Add tomato sauce, coriander, cumin, garam masala, turmeric, and cardamom.
  5. Stir to coat the onion mixture.  Add a splash of water if necessary--you want there to be a good bit of sauce.
  6. Add chickpeas and mix again.
  7. Reduce heat to low and cook, stirring to cat the chickpeas for a minute or so.
  8. Mix in curry powder, stirring to combine.
  9. Add another splash of water, if necessary, and the spinach.  Stir the spinach around until it turns dark green and wilty.
  10. Add salt and pepper to tast and serve with a dollop of tofu yogurt if desired.
Chef's Note:  Add cayenne with other spices if you like heat.
Chef's Note 2:  2 teaspoons ground ginger may be substituted for fresh.  Add with other spices during cooking.

Nutritional Information:  493 calories, 0.4 grams fat, 15.9 grams carbohydrates, 1.9 grams fiber, 9.6 grams sugars, 2.5 grams protein

Chana Saag

Tofu Yogurt

  • 1 12-ounce package Mori-Nu tofu (any firmness)
  • 1 cold banana
  • 2 tablespoons nondairy milk
  • 2 tablespoons lemon juice
  • 2 tablespoons sweetener (agave) (optional)
  1. Combine tofu, banana, nondairy milk, and lemon juice in a blender or food processor and whiz until smooth and creamy.
  2. Taste, adding sweetener such as maple syrup or agave. (I didn't use sweetener--it was already sweet enough with the banana.)
Chef's Note:  Add fresh or frozen fruit (such as strawberries or blueberries), 1/4 cup at a time, for fruit-flavored yogurts.
Chef's Note 2:  Bananas turn brown when they oxidize, meaning the yogurt will turn brown if you make it ahead and leave it in the fridge.  It hasn't gone bad, it just doesn't look as pretty.  If you do a fruit flavor, you don't usually notice the color change. You can also blend without the banana and add it later, right before serving.
Chef's Note 3:  Probiotics can be purchased at health food stores and added to homemade yogurts.

Nutritional Info:  128 calories, 1.4 grams fat, 17.3 grams carbs 1.6 grams fiber, 9.1 grams sugars, 13.4 grams protein--for the unsweetened,
192 calories, 1.4 grams fat, 34.6 carbs, 1.6 grams fiber, 26.3 grams sugars, 13.5 grams protein--for the sweetened.

DILYLOPR'S note:  This yogurt recipe makes a lot!  It's very good, but I couldn't use it up fast enough--so plan ahead and use it in another recipe so as not to waste it.

Friday, December 20, 2013

Corn Bread Coffee Cake

This recipe came from my neighbor, Texanna Dutrow, when I lived on Rock Creek Drive in Frederick, Maryland.  I can't even remember when I started making it, but it's been a family favorite since Texanna gave it to me.  Carrie included it in her Family Cookbook under the title Quick Coffee Cake.

I've altered a few things over the years, but the texture and flavor have only improved, I think.

Enjoy.
Corn Bread Coffee
Cinnamon Topping


  • 2/3 cup firmly packed brown sugar
  • 3 tablespoons all-purpose flour
  • 1 teaspoon cinnamon
  • 3 tablespoons butter margarine melted


Batter

  • 1 cup yellow corn meal
  • 1 cup all-purpose flour (I use whole wheat white flour)
  • 1/2 cup white sugar (I use raw, unprocessed sugar)
  • 1 tablespoon baking powder
  • 1 cup milk (I use Silk, a soy milk substitute.)
  • 1/2 cup vegetable oil
  • 1 beaten egg (You can use an egg replacer, but I like  how the yoke brings out the golden color of the corn meal).


  1. Heat oven to 375 degrees.
  2. For topping, combine brown sugar, flour, cinnamon, butter, and set aside.  I use a fork and stir until mixture is crumbly.
  3. For batter, mix together corn meal, flour, sugar,  and baking powder.  Add oil, milk, and egg; stir only until dry ingredients are moistened.  Pour half of batter into greased 8" square pan.  Sprinkle with half of cinnamon topping.  Top with remaining batter and sprinkle with the rest of the topping.
  4. Bake for 25-30 minutes.


Tuesday, December 10, 2013

Snow Day Cooking

Peanut Butter Chocolate Chip Dough Bites

I found myself home for a much-needed snow day wondering what I could make that would satisfy a sweet tooth and not be a diet destroyer.  Low and behold, I found this posted on Facebook.  I don't even know who posted it, but I copied it to my timeline.

I've made a slight change, in that I used an entire can of chickpeas.  The cookies were delicious.  I can attest, because I ate almost the entire batch.  CAUTION:  You may want to double.

Makes 20 (I could fit them on one cookie sheet.)
Heat oven to 350 degrees
Bake about 10 minutes.


  • 15 oz. can chickpeas (garbanzo beans) drained, rinsed, and patted dry with paper towels.  The recipe called for 1 and 1/4 cups which left about two tablespoons of beans.  I just used the whole can.
  • 2 teaspoons of vanilla extract
  • 1/2 cup plus 2 tablespoons natural peanut butter.  Recipe says if you use processed peanut butter you will end up with a gloppy mess.
  • 1/4 cup honey or agave
  • 1 teaspoon baking powder
  • pinch of salt (optional)  If you're are using chickpeas with salt, not necessary.
  • 1/2 cup chocolate chips
  1. Combine all ingredients except chocolate chips in food processor.  Process until smooth, being sure to scrape sides as needed.
  2. Mixture will be very stiff.  You can remove bowl from processor and stir in chocolate chips or process a few times.  Not too much or  you'll chop up your chips.
  3. If you have kitchen gloves, they come in handy now.  I used latex gloves, got them slightly wet and shaped into 20 walnut size balls.  Recipe says wet hands and shape into 1 1/2 inch balls.  It should make 14 like that. Mine were perfectly big enough.
  4. Place on a piece of parchment paper on a cookie sheet so that sides do not touch with a little room for expansion.
  5. You can flatten if you like, so that they look more cookie like.  I put a piece of saran wrap over the cookies and used a glass bottom to flatten down a bit.  No mess!
  6. Cookies do not rise much and taste a bit like cookie dough when finished.
  7. Allow to cool on cookie sheet. 
  8. You can store in an airtight container in the fridge.
Fresh from the oven.