And when I'm home on a Saturday, and I want a pick-me--up, I cook. Today was no exception.
I started off making potato soup. It was kind of late anniversary celebration as last week was our 42nd wedding anniversary and potato soup is the first thing I ever cooked for us as a married couple. Mike requested it this morning. I've posted my mom's potato soup previously and it's VERY good. I almost always use her recipe when I make potato soup. But today, I wanted a little healthier rendition. How to get the thick, creamy quality of mom's soup without all the flour and milk and butter? Then it dawned on me. If you can thicken gravy (vegetarian that is) with white beans, why couldn't you thicken potato soup with potatoes? Here's how it goes:
My Mom's Potato Soup with a Twist
- Good olive oil
- Potatoes cubed (as many as you want). I used six large potatoes.
- onion (about 3/4 cup) minced
- water or vegetable broth to cover
- milk of your choice (I used soy milk)
- salt and pepper
- good soy margarine or butter
Decide how much soup you want to make and peel and cube about twice as many potatoes as you normally would. I used six large potatoes today.
Pour about 1 tablespoon oil into a dutch oven and brown onions slightly. Add cubed potatoes and just barely cover with water or vegetable broth. Season with salt and pepper to taste. Bring to a boil and cook gently for about 20 minutes. When potatoes are done, use a potato masher or immersible blender to mash about half of the potatoes. Don't overdo it or you won't have any body left in the soup!
Gently pour in enough milk to make the soup creamy. It should be thick. Don't bring to a boil--heat just until warmed.
Just before serving, add a dollop of butter or margarine and swirl.
I guarntee this will replace your current potato soup recipe.
 |
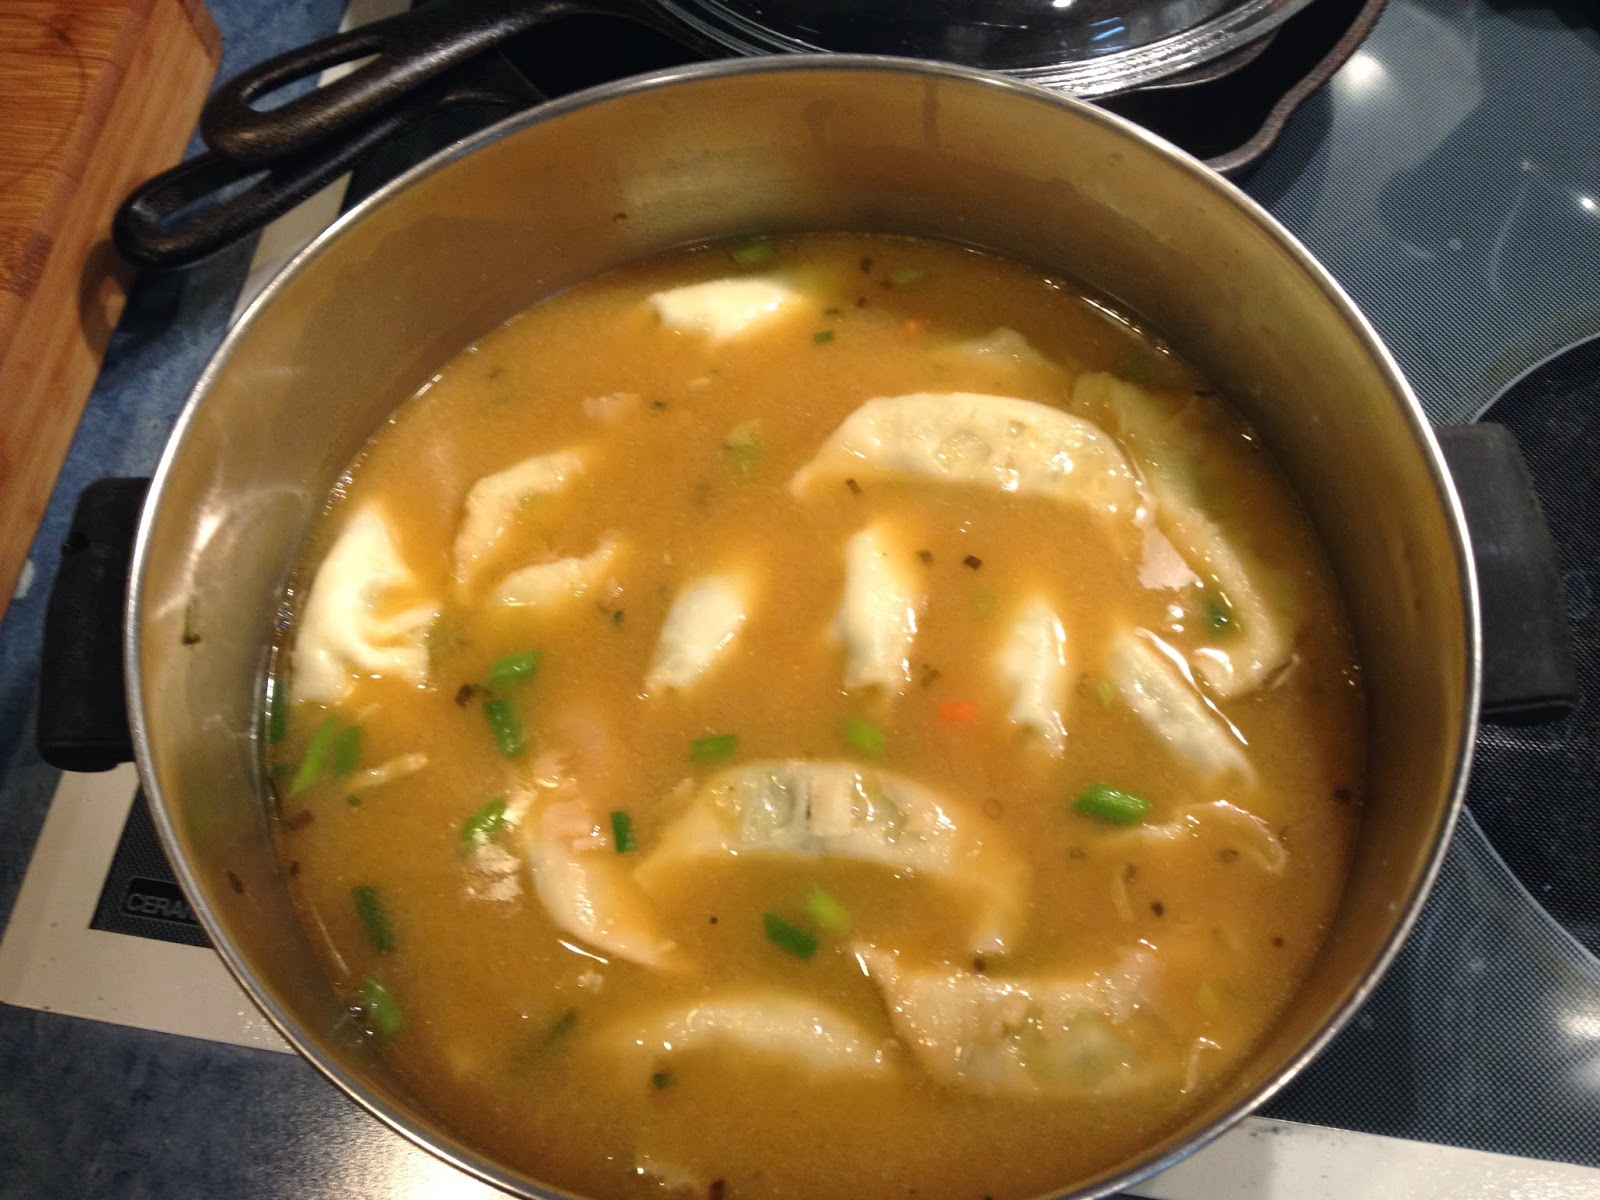
| Potato Soup with a Twist |
I just have to share this story. When Mike and I got home from our honeymoon, I set about deciding what to cook for our first supper in our home together. I couldn't think of a thing. I called my mother and asked her what I should cook. When she said potato soup, I felt great relief, because I had cooked it at home many times. I made the soup, it was good. One day down... how many more to go? I realized on that day that I'd have to decide what to have for supper for the rest of my life. It was scary. I wonder if young women (or men) even give that a thought today?